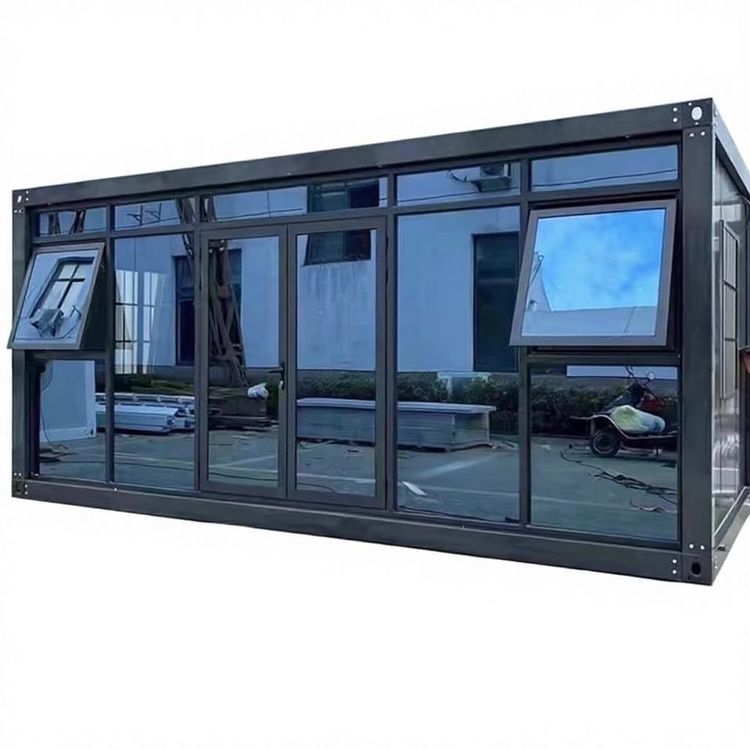
How to Install Mobile Toilets in Chifeng
The installation process of mobile toilets in Chifeng typically follows the core steps of 'positioning - assembly - connection - debugging', as detailed below:
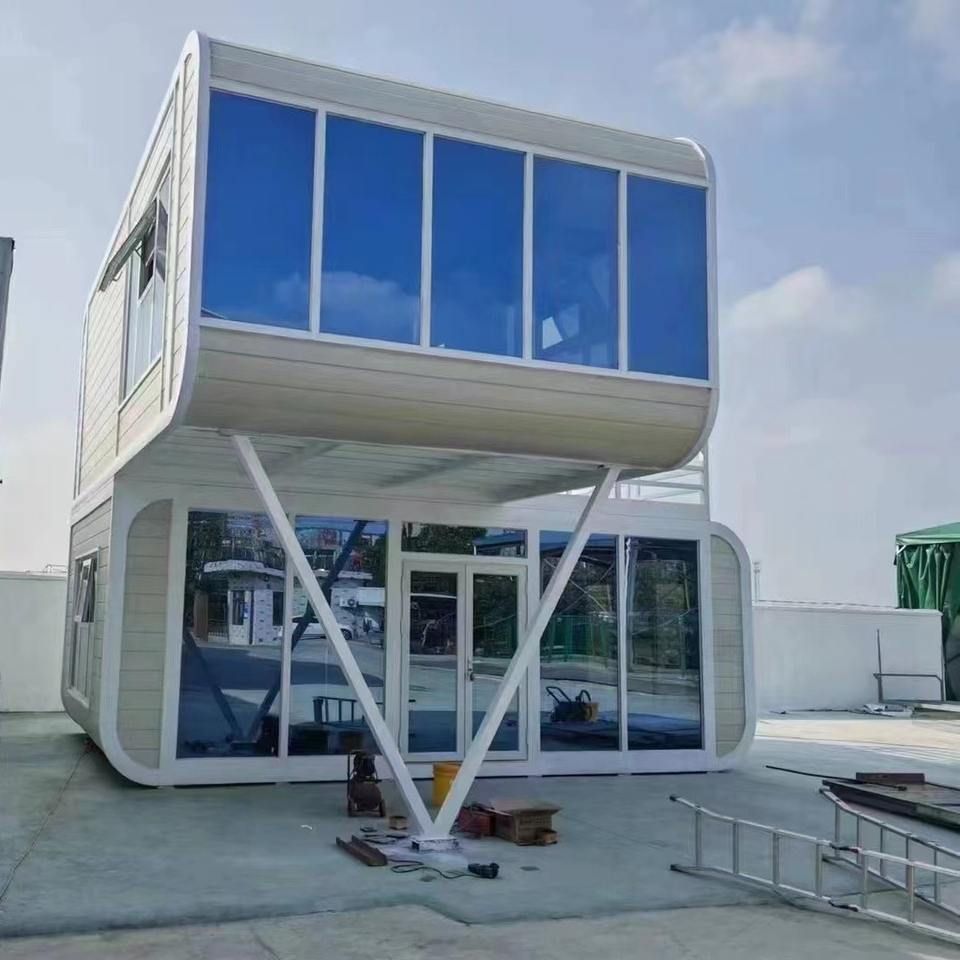
I. Positioning and Site Preparation
Determine the installation location based on site planning and ground flatness, meeting the following conditions:
- Ground Firmness: Choose concrete, hardened ground, or compacted soil ground to prevent structural deformation due to foundation settlement.
- Drainage Conditions: For flush toilets, reserve drainage pipe interfaces or install septic tanks to ensure sewage discharge complies with the requirements of the 'Mobile Toilet Hygiene Standard' (GB/T 21239-2023).
- Spatial Layout: Reserve sufficient operating space (usually a buffer distance of 0.5-1 meter around a single toilet unit) for easy assembly and future maintenance.
II. Assembling the Main Structure
Select the corresponding assembly method based on the toilet type:
Split-type Mobile Toilets:
- Chassis Installation: Place the prefabricated steel structure chassis steadily at the designated position, adjust it to a level state using a spirit level, and secure the anchor bolts to prevent displacement.
- Wall Assembly: Insert the sandwich panel wallboards into the chassis slots one by one, and fix them with bolts or clips; apply sealant at the wallboard joints to prevent rainwater leakage.
- Roof Installation: Cover the roof panel and secure it, checking the roof drainage slope (recommended ≥3%) to avoid water accumulation. Assembly Time: Usually takes 1-2 hours to complete wall and roof installation.
Integrated Mobile Toilets (Box-type Toilets):
- The factory has completed interior decoration and equipment integration. On-site, simply use a crane to lift the box unit to the predetermined position, adjust it to a level state, and secure it. Assembly Time: Can be shortened to 0.5-1 hour.
III. Connecting Water and Electricity and Installing Equipment
Water and Electricity Pipeline Connection:
- The power cord should be connected to the main circuit using waterproof connectors and equipped with a leakage protection device.
- The water pipe connection should use a quick-connector modular design to reduce welding or hot-melt operations and lower the risk of water leakage. Note: This step should be performed by a professional electrician or plumber.
Internal Equipment Installation:
- Secure the toilet, sink, partition, and other components, adjusting the water pressure of the flushing system to 0.2-0.3MPa.
- Install lighting fixtures and ventilation equipment (such as exhaust fans), ensuring the circuit load meets the design requirements.
IV. Functional Inspection and Debugging
- Flush Test: Flush continuously 3-5 times to check for pipe blockages and the effectiveness of the water seal.
- Circuit Inspection: Use a multimeter to test voltage stability and check if the ground wire is reliably connected.
- Seal Inspection: Fill the toilet with water to a level 5cm above the ground and observe for 24 hours; no leakage indicates compliance. The overall installation time for an integrated toilet can be shortened to 2-4 hours, while a split-type toilet requires 4-6 hours.
Installation Standard Basis: All steps must comply with the requirements of the 'Mobile Toilet Hygiene Standard' (GB/T 21239-2023) regarding structural strength, sanitary facilities, and environmental protection emissions to ensure safety and hygiene standards are met.
You may also like
Portable Toilet Eco-Friendly: MOQ, Samples & Quotation Guide
Read More
Top Portable Toilet Color Steel Manufacturers: How to Choose a Factory Partner
Read MorePortable Toilet Picture: Types, Features & Buying Tips
Read More