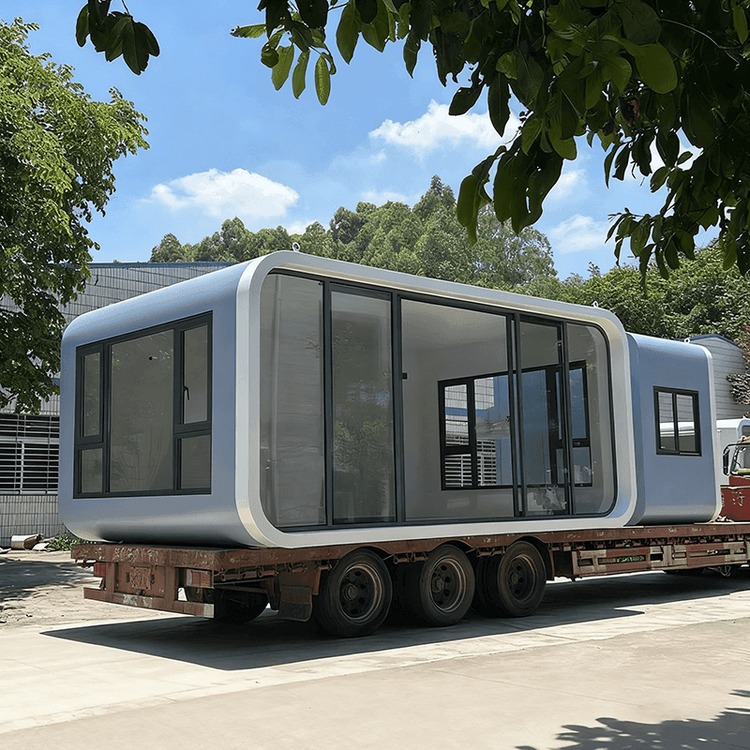
Boxing Portable Toilet Installation
The installation of portable toilets in Boxing can refer to the general installation process of portable toilets, which is mainly divided into two types: split-type and integrated. The core steps include positioning, assembly, connection, and commissioning, as detailed below:

Split-type Portable Toilet Installation Process
Positioning the Chassis and Frame
Use a forklift or manual labor to place the prefabricated steel chassis steadily at the predetermined location. Adjust the chassis to a level state using a spirit level to ensure the stability of subsequent installations. The chassis usually has reserved slots or bolt holes for fixing the wall structure.Installing the Walls and Roof Panel
Insert the sandwich-panel wallboards into the chassis slots one by one and secure them with bolts or clips to ensure the verticality of the walls. Then, install the roof panel, focusing on sealing the eaves and joints (e.g., using waterproof glue or sealing strips) to prevent rainwater leakage. This step usually takes 1-2 hours and requires two people to collaborate.Connecting Internal Facilities
Install internal partitions, toilets, flushing systems, sinks (optional), and ventilation equipment. Connecting water and electrical pipelines is a critical step:- Water Supply System: Connect the inlet pipe to the water tank or municipal water supply interface and check if the water pressure meets the equipment requirements.
- Drainage System: Connect the sewage pipe to the septic tank or municipal sewage pipeline, ensuring a reasonable slope (usually ≥2%) to avoid blockages.
- Electrical System: Install lighting fixtures, exhaust fans, and sockets. This should be done by a professional electrician to ensure proper grounding and compliance with safety regulations.
Modular water and electrical interfaces (e.g., quick connectors) can shorten connection time, but their sealing should be checked.
Function Inspection and Commissioning
- Flushing Test: Check the flushing force of the toilet and the water replenishment function of the tank to ensure no leakage.
- Electrical Inspection: Test all electrical equipment (e.g., lighting, exhaust fans) to ensure they work properly.
- Sealing Inspection: Spray water on the doors, windows, and roof joints to simulate rainfall and observe if there is any water leakage inside.
Integrated Portable Toilet (Box-type Toilet) Installation Process
This type of toilet has already undergone internal decoration and equipment integration in the factory, making on-site installation simpler:
- Lifting and Positioning: Use a crane to lift the entire toilet to the predetermined location and adjust it to a level state using a spirit level.
- Connecting Water, Electricity, and Sewage Pipelines: Directly connect the inlet pipe, sewage pipe, and electrical circuit without internal assembly. The installation time can be shortened to 2-4 hours.
- Function Testing: Similar to split-type toilets, check the flushing, electrical, and sealing functions.
Precautions
- Confirm the ground bearing capacity before installation to avoid chassis subsidence.
- Reserve inspection ports in the sewage pipeline for easy maintenance later.
- Consider anti-freezing measures (e.g., insulated water tanks) in northern regions.
The above process is applicable to the installation of portable toilets in the Boxing area, and specific operations can be adjusted according to the equipment model and site conditions.