Back to blog
Article
Assembly Steps for Mobile Toilets
Admin September 22, 2026
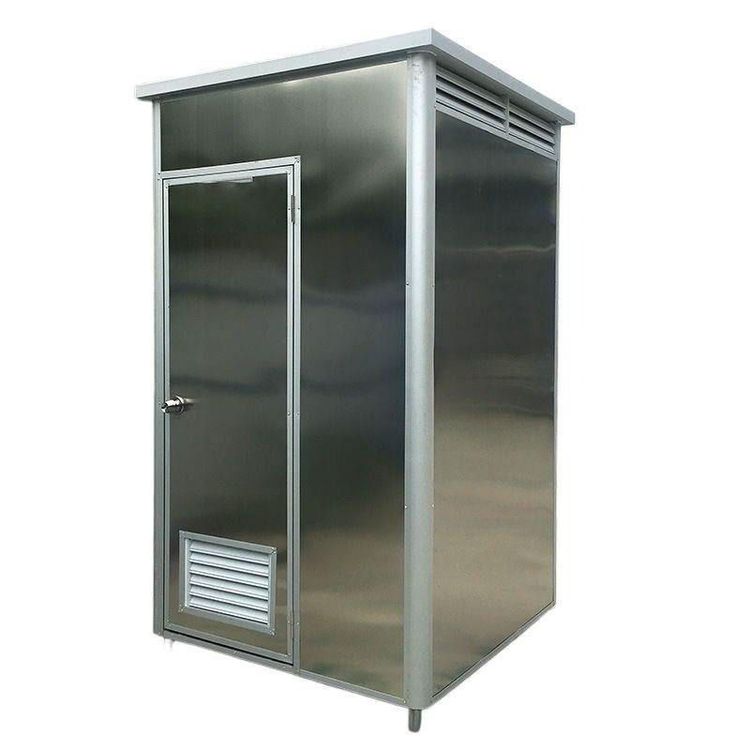
The steps for assembling mobile toilets are as follows:

I. Preliminary Planning and Site Preparation
- Demand Assessment and Model Selection Confirmation: Clarify requirements based on the usage scenario, including estimating the number of users, duration of use, ratio of male to female toilet stalls, and whether barrier-free facilities are needed. Determine the specifications, style, and internal configuration of the toilet (such as lighting, ventilation, and sinks).
- Site Survey and Location Selection: Choose a flat and solid ground surface, ensuring sufficient space to place the toilet unit and reserve locations for a septic tank or waste storage tank, as well as access for waste removal vehicles. Prioritize proximity to water supply and drainage networks, and keep away from drinking water sources and kitchens.
- Foundation Construction: For long-term use or when ground conditions are poor, pour concrete foundation piers or lay a load-bearing platform to ensure the foundation surface is level and prevent the box from tilting.
II. Delivery of Materials and Equipment
- Transportation of the Main Toilet Box: Use a flatbed truck for transportation. During loading and unloading, use a forklift or crane for steady operation to prevent collision damage to the box structure or coating.
- Inventory of Supporting Components: Check connecting bolts, sealing strips, drainage hoses, ventilation ducts, electrical wiring (if including lighting/ventilation), and other accessories. Verify that the septic tank, waste storage tank, freshwater tank (if not built-in), water supply pipes, and valves are complete and in good condition.
- Equipment and Personnel Preparation: Ensure that tools such as cranes (or forklifts), spirit levels, wrenches, and electric drills are in place. Installation personnel should possess safe operating skills.
III. Main Body Installation and Fixing
- Box Positioning: Use lifting equipment to steadily hoist the box to the foundation position, slowly lower it, and adjust the direction. Use a spirit level to measure multiple points on the bottom of the box and make fine adjustments with shims to ensure it is completely level, preventing inconvenience in use or structural damage due to tilting.
- Box Connection (for multi-unit row installations): If multiple units need to be combined, align the box interfaces, tighten the connecting parts with bolts, and install sealing strips to ensure no leakage at the connections. Connect the drainage pipes and ventilation system to ensure overall sealing and functionality.
- Fixing and Reinforcement: Install expansion bolts or weld fixing pieces at the contact points between the bottom of the box and the foundation to enhance stability and prevent displacement caused by strong winds or external forces.